Started with a simple desire: “a custom BIOS boot logo”

Why stick with boring manufacturer splash screen when you can modify it, right? So, I went ahead and tried to flash a modified BIOS using custom software (random ahh one found in forum). Didn't take long to realize I made a massive mistake. The flash failed, and just like that, my laptop was completely bricked. No boot, no POST, only a fan noise and keyboard RGB light up.
The Repair Shop Despair
Panicked like crazy, I packed up the lifeless machine and drove around to all nearest service centers here in Jember. The diagnostics I got were less than encouraging and vague. Every single shop either gave me the "Motherboard kena nih" speech, or the technicians saying they can’t flash BIOS chip for some unknown reasons.
The only alternative "solution" I was offered was to have them shipped to Surabaya to maybe get it fixed. Left the shops feeling confused, depressed, and honestly, incredibly stooopid for messing with the boot logo in the first place.
Down the Rabbit Hole
I decided to Google my way out, locked in.
Swarmed through endless lists of resources, eventually landing deep in a hardware forum. I posted my desperate situation and, as is tradition in tech forums, got roasted in thread I made.
- Random Hardware Forums Thread Mentioning About BIOS Chip
- https://jpdias.me/hardware/msi/bios/2020/05/10/back-from-the-dead.html
But amidst the roasting, I came across a blog post by João Pedro Dias (link above) detailing how he recovered his own bricked MSI laptop from botched update. I decided to shoot my shot and reach out to him directly via email.
Turns out, the guy is a literal PhD. Despite the fact that I had bricked my machine doing something entirely avoidable, he was incredibly helpful. Communicating with him gave me the confidence to try the hardware solution myself: directly flashing the EEPROM chip.
The Hardware Hack
Following his guide, I hopped onto Shopee and ordered a CH341A mini programmer. It was insanely cheap; only about 60k Rupiah.
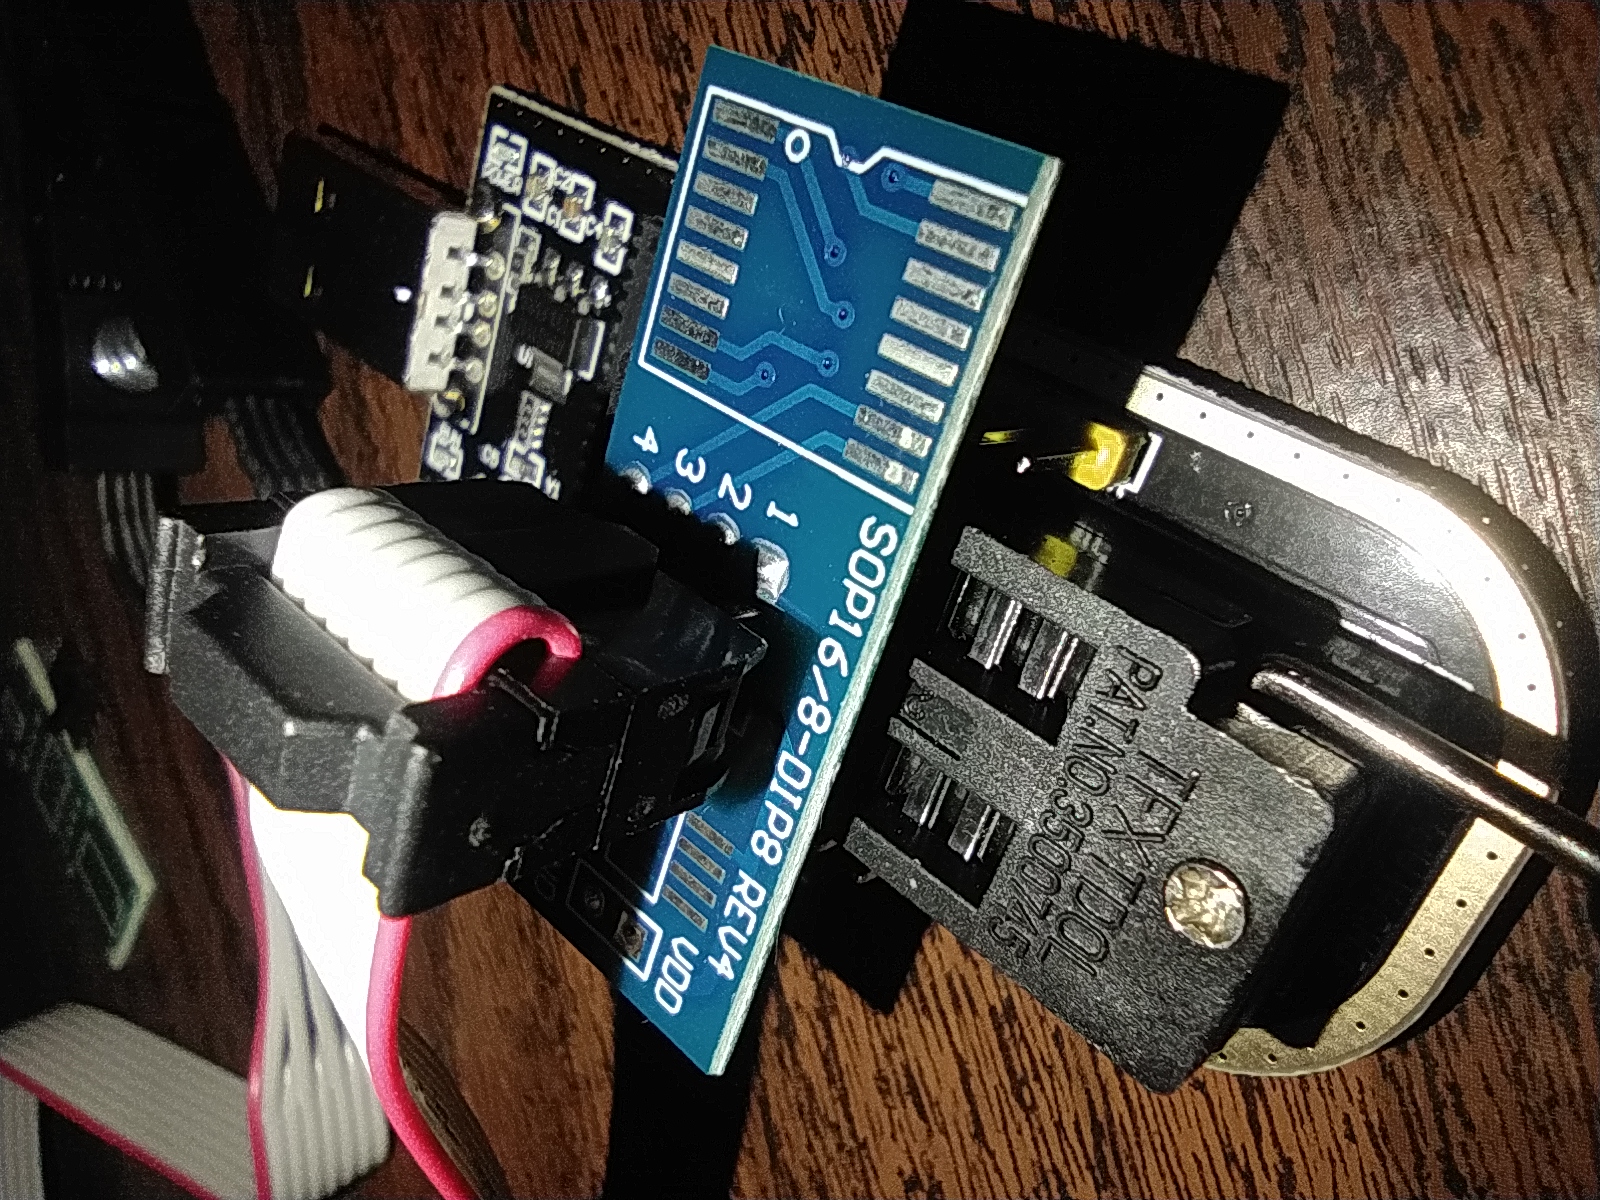
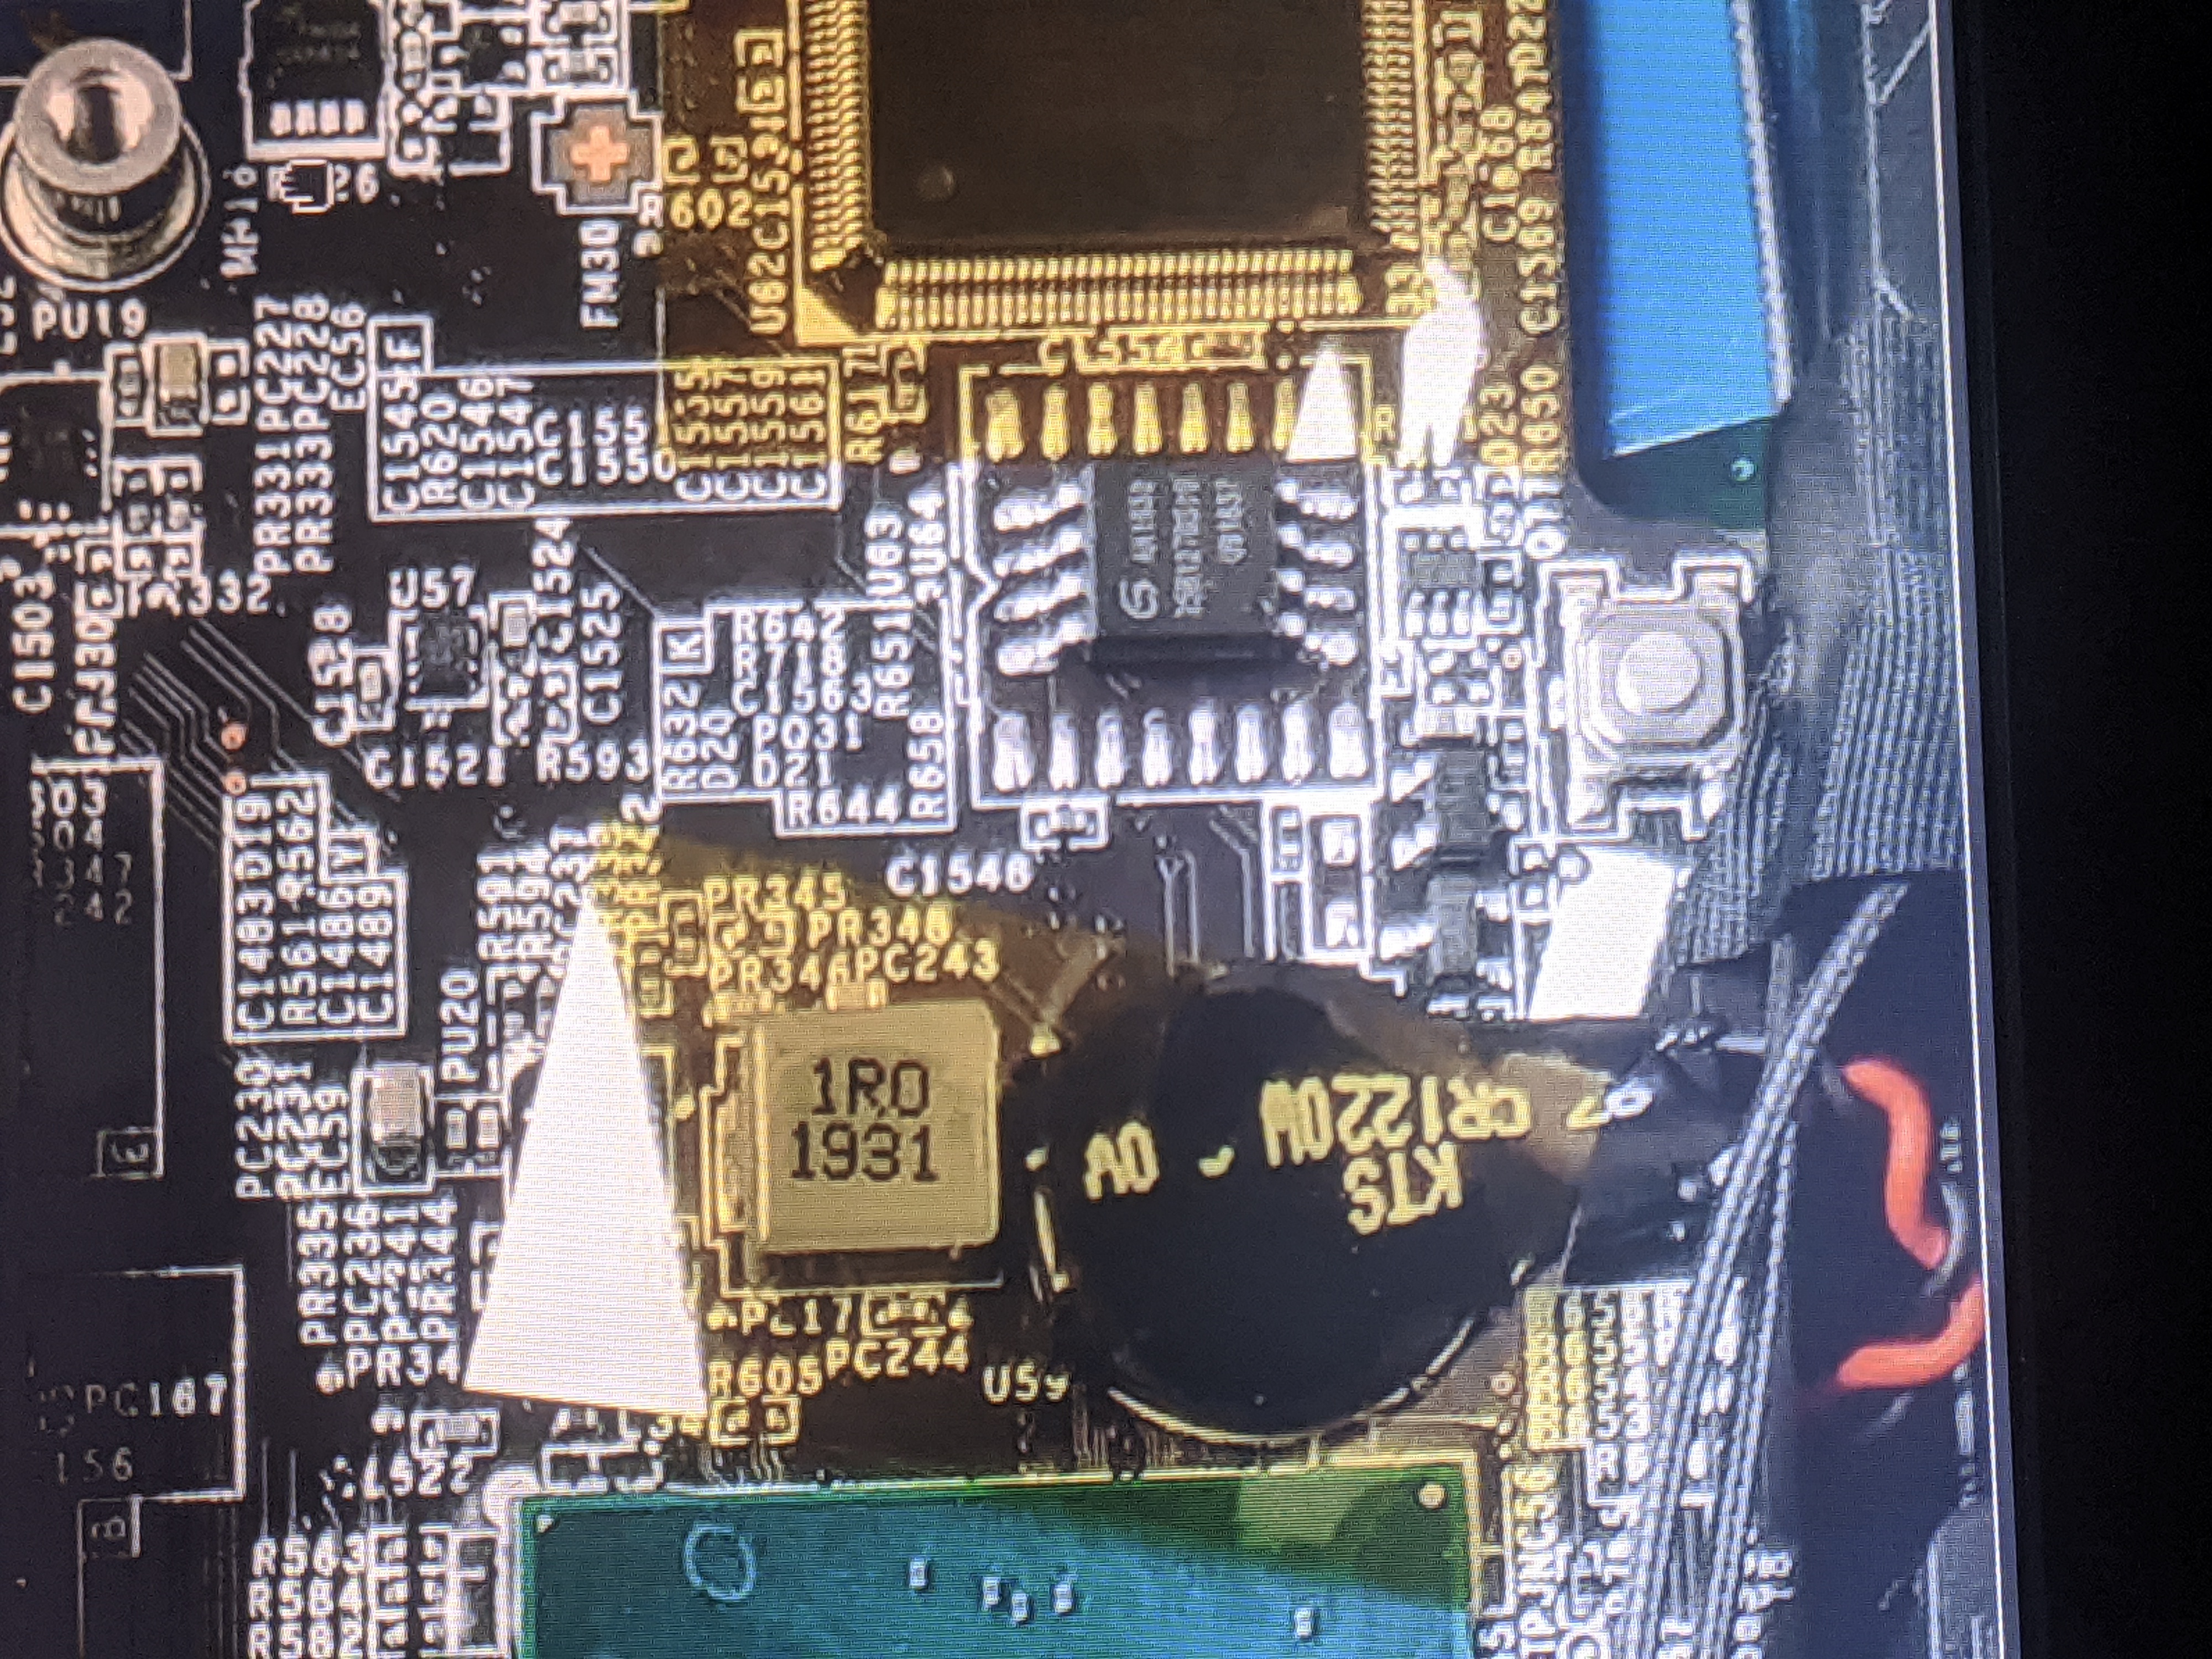
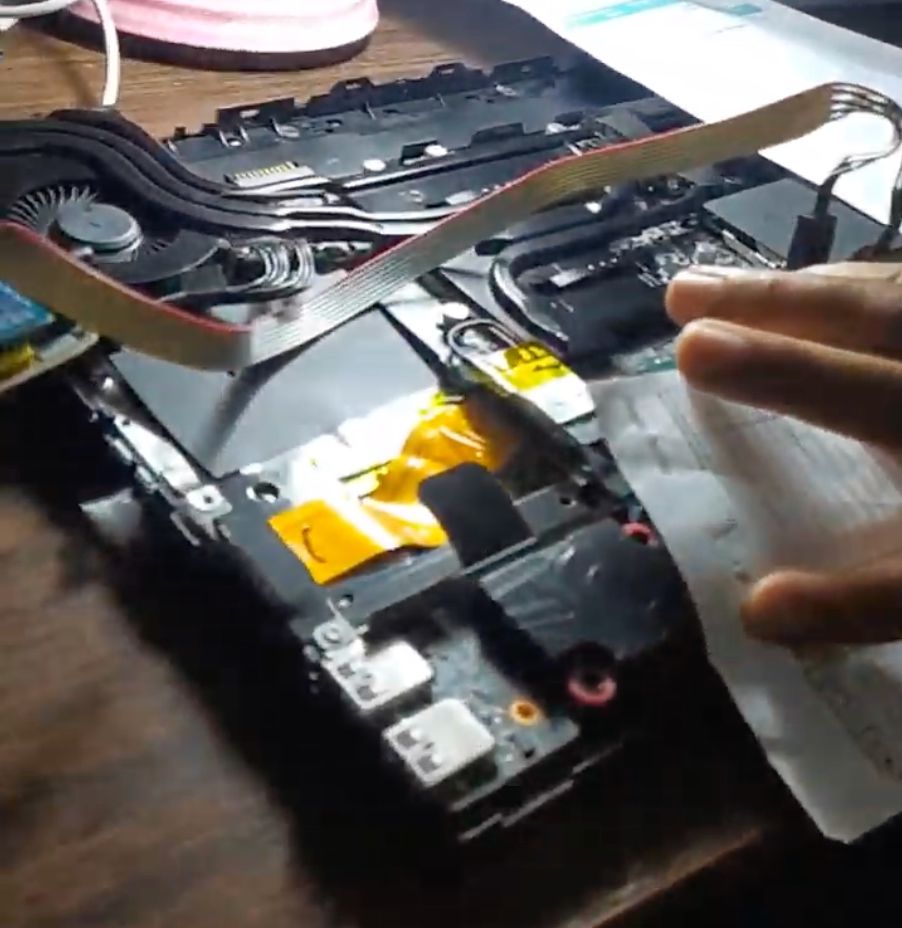
Once it arrived, the real surgery began. I fully disassembled my laptop, removed the battery, and located the SPI flash chip on the motherboard. The CH341A comes with an 8-pin test clip that is supposed to clamp directly onto the chip so you don't have to desolder anything.
There was just one problem: my clip absolutely refused to stick to the pins. It kept sliding off. I had to call in my dad for help. I made my dad to literally stand over the motherboard and physically hold the CH341A clip tightly against the chip.
Driver Issues and flashrom
With my dad holding the clip for dear life, I plugged the USB into a spare Windows laptop. Nothing. Windows didn't even detect the programmer.
Booted into my Linux setup. I opened the terminal, installed flashrom, and plugged the programmer back in.
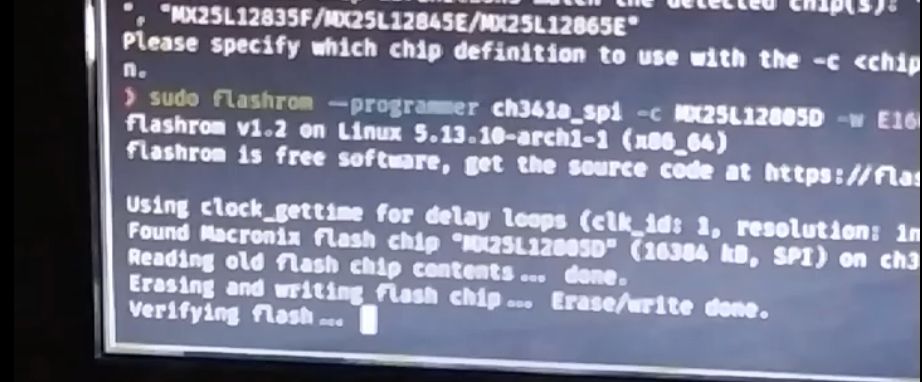
Instantly detected. I ran the flashrom command, pointed it to a clean, stock BIOS file I had downloaded from the manufacturer's website, and watched the terminal as it successfully wiped the corrupted mess and wrote the fresh firmware.
I disconnected everything, put the laptop back together, held my breath, and hit the power button.
The backlight came on. Then, the manufacturer logo appeared. It was back from the dead.